Table of Contents
Installation & Activation #
Installation Instructions must be completed first.
The Faculty and Staff Showcase plugin should be activated.
Choosing a Showcase Block #
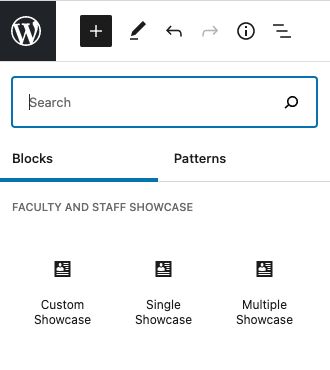
- To select a showcase block, click the WordPress Editor’s block inserter menu (“+” symbol) in the top left of your screen, or within the editor itself.
- Our plugin comes with three blocks: Custom Showcase, Single Showcase, and Multiple Showcase.
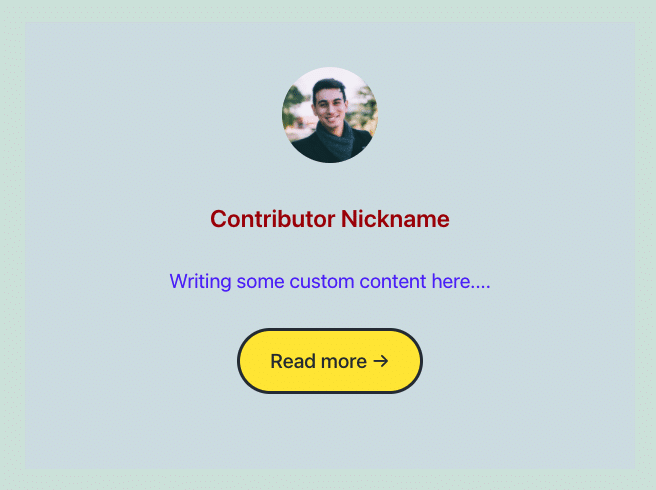
Custom Showcase #
Overview #
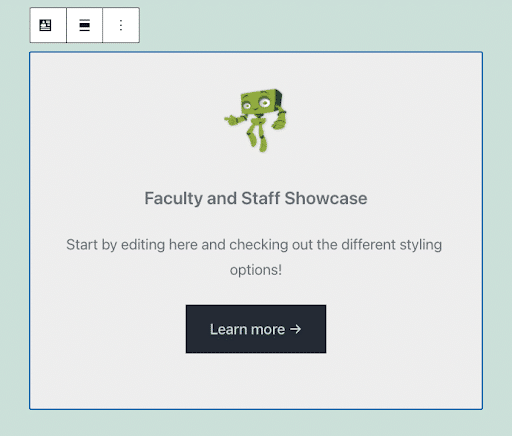
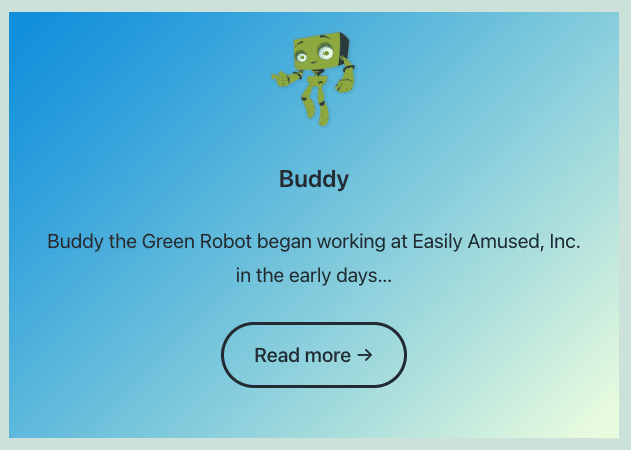
- This is the simplest block. You can update the image, edit text, and style the button using built-in editor features.
- The showcase block itself includes the following features:
- Alignment
- Text and background color (including gradient option)
- Spacing (padding)
- Customize as you want, save/update the post, and see your changes on the front-end.
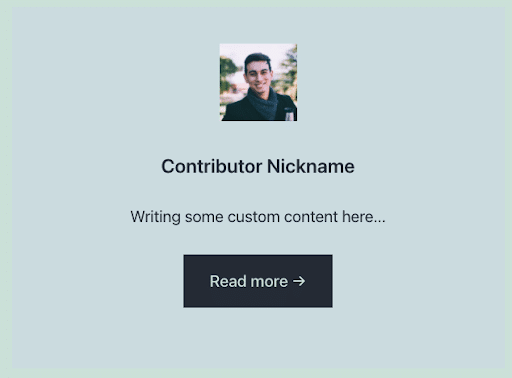
Single Showcase #
Overview #
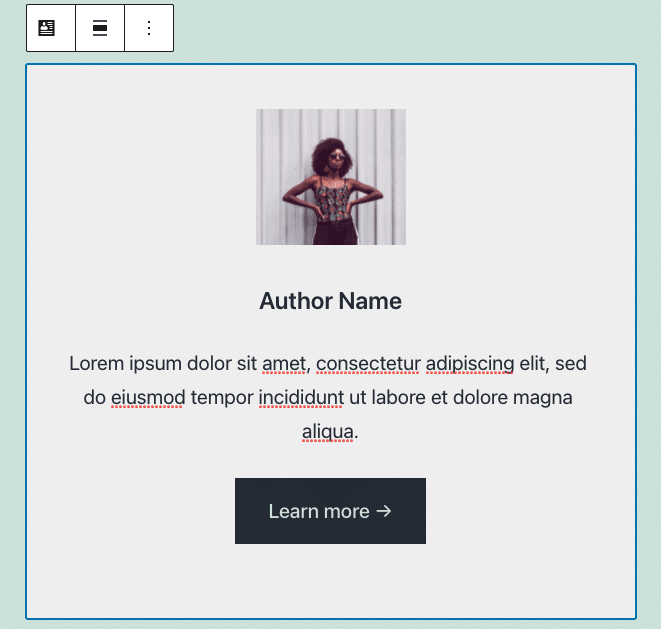
- The Single Showcase block combines all features of the Custom Showcase with automatically populating the user’s information.
- Selecting this block will display the post author’s avatar, name, and description.
Settings Overview #
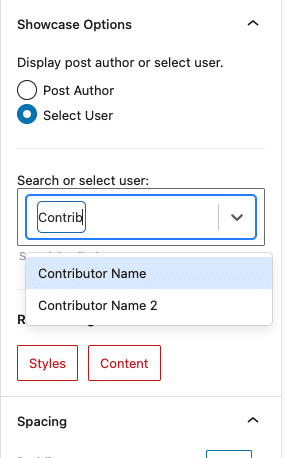
- Showcase Options are located under the Block Settings on the right settings panel.
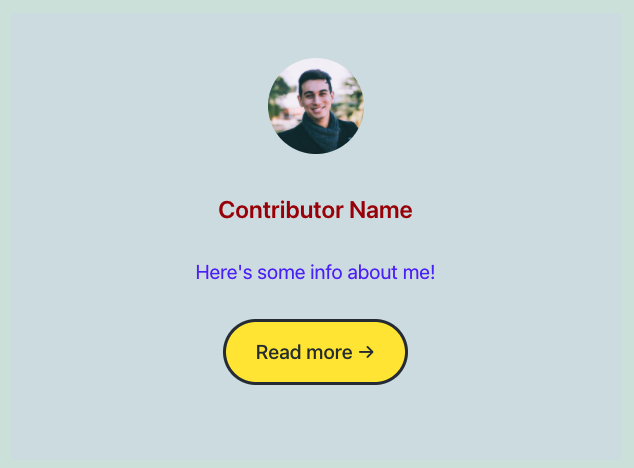
Post Author #
- Selecting this option will populate the showcase with information about the post author.
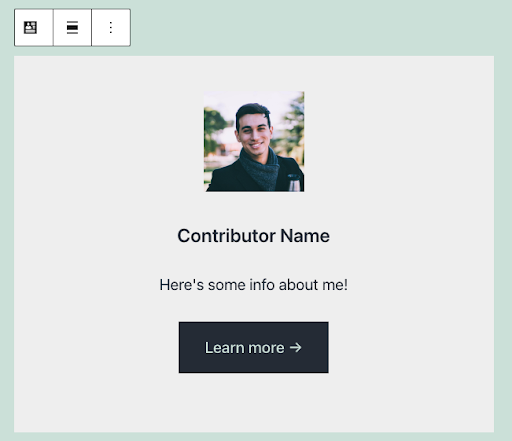
Select User #
- Selecting this option will reveal an input which can be used to select or search for an existing user to display.
Reset Changes #
- ‘Reset Changes’ has two options:
- Styles: reset any styling changes made (color, background color, text size, etc.)
- Content: reset any changes made to the user’s info (name, description, etc.)
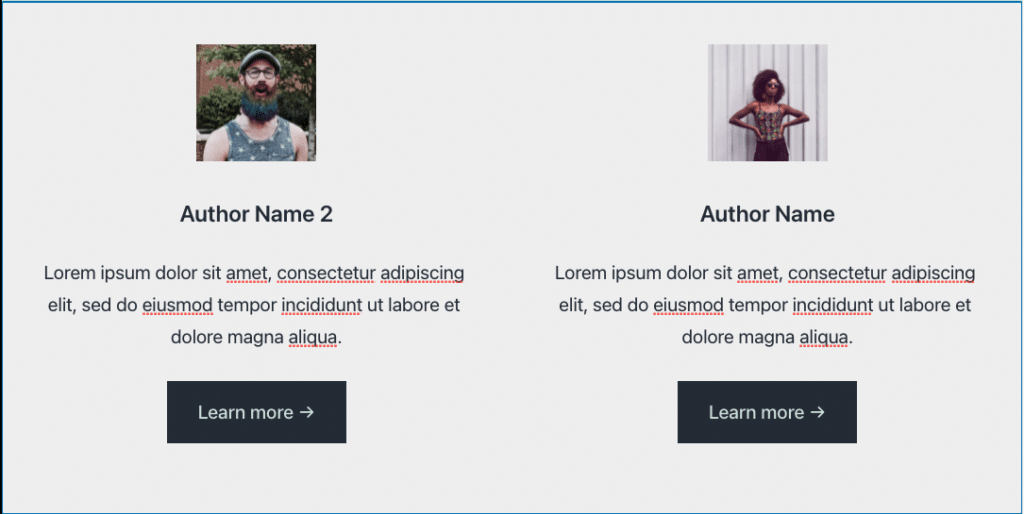
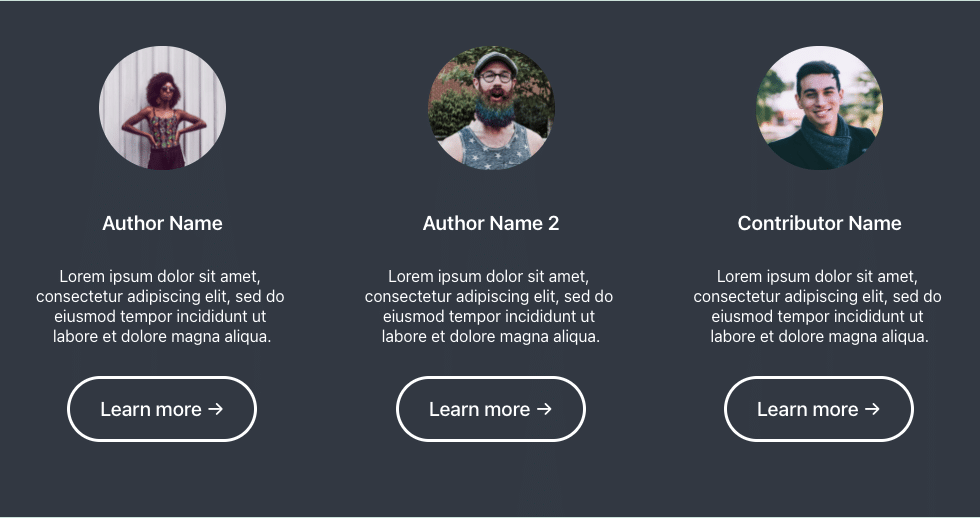
Multiple Showcase #
Overview #
- Multiple Showcase allows you to display multiple users at random by selecting which user roles to display.
- ‘Author’ is currently set as the default user role.
Settings Overview #
- In the Block Settings, user roles are auto-generated and you can choose which role(s) to display.
- You can use the slider or number input to choose how many users to display.
- By default, styling one user will apply the same stylings across all users.
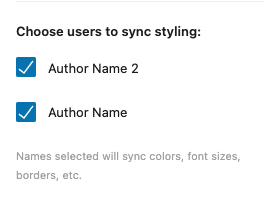
- Lastly, you can customize which users to sync stylings together.
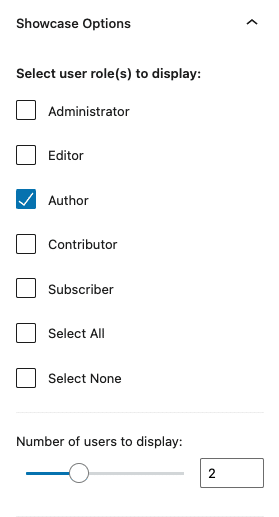
Selecting User Roles #
- The list of user roles are automatically generated for you. Select as many roles as you’d like and they will display users from those roles at random.
- If not enough users are available in the selected role(s), a default ‘user’ will be displayed.
- By default, styling one user will apply the same stylings across all users. (This can be customized with ‘Sync Styling’, described below).
Number of Users to Display #
- Use the slider or number input to choose how many users to display (max 4). New users will be generated from the selected user role(s).
- By default, styling one user will apply the same stylings across all users. (This can be customized with ‘Sync Styling’, described below).
Choose Users to Sync Styling #
- When users are chosen to be synced together, the following styles will be synced:
- Image size and block styles (e.g. rounded, outline, etc.)
- Text sizes, colors, and line height
- Background colors
- Button borders, colors, and block styles (e.g. fill, outline, etc.)
- Users will automatically be added as choices to select or deselect when user role(s) selection changes or number of users to display is changed.
- Selecting or deselecting a user will be reflected by a simple animation in the editor.