* This setting is only available to WordPress admins and is still under development *
Private groups work much like other messaging apps where one person creates the group and invites other members. The Messaging for LearnDash plugin allows the creation of private groups with a few steps.
To use private groups you first have to enable the option “Allow Users to create private groups” under your wp-admin > LearnDash LMS > Chat Settings.
Once enabled, you can create a private group by clicking the three bars and then clicking “Create Private Group”.
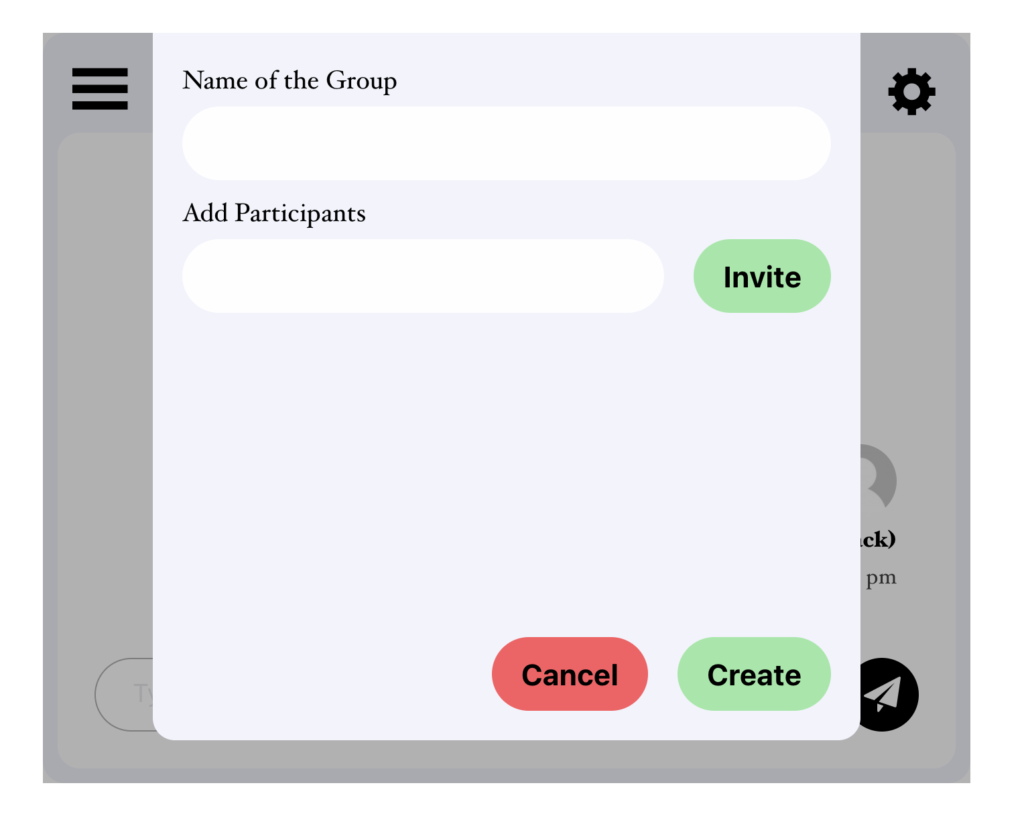
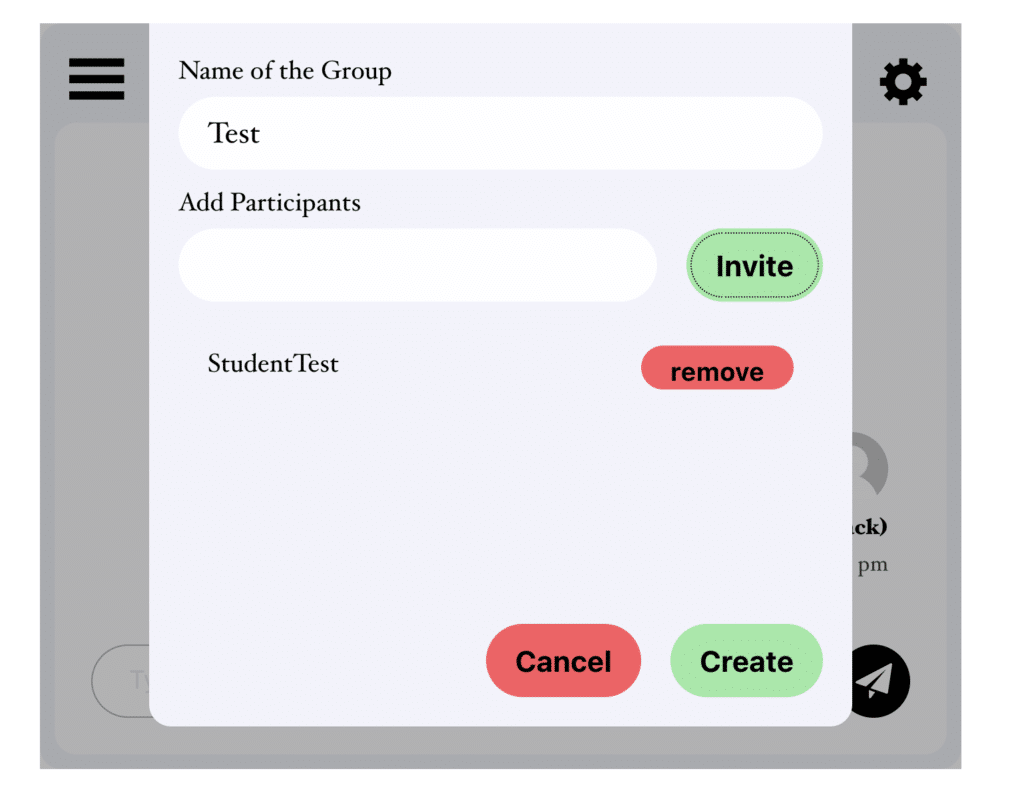
Enter the name of the group and then add other users.
Start typing in the name of the user and it’ll automatically populate. And then click “Invite” which will add the user to the group.
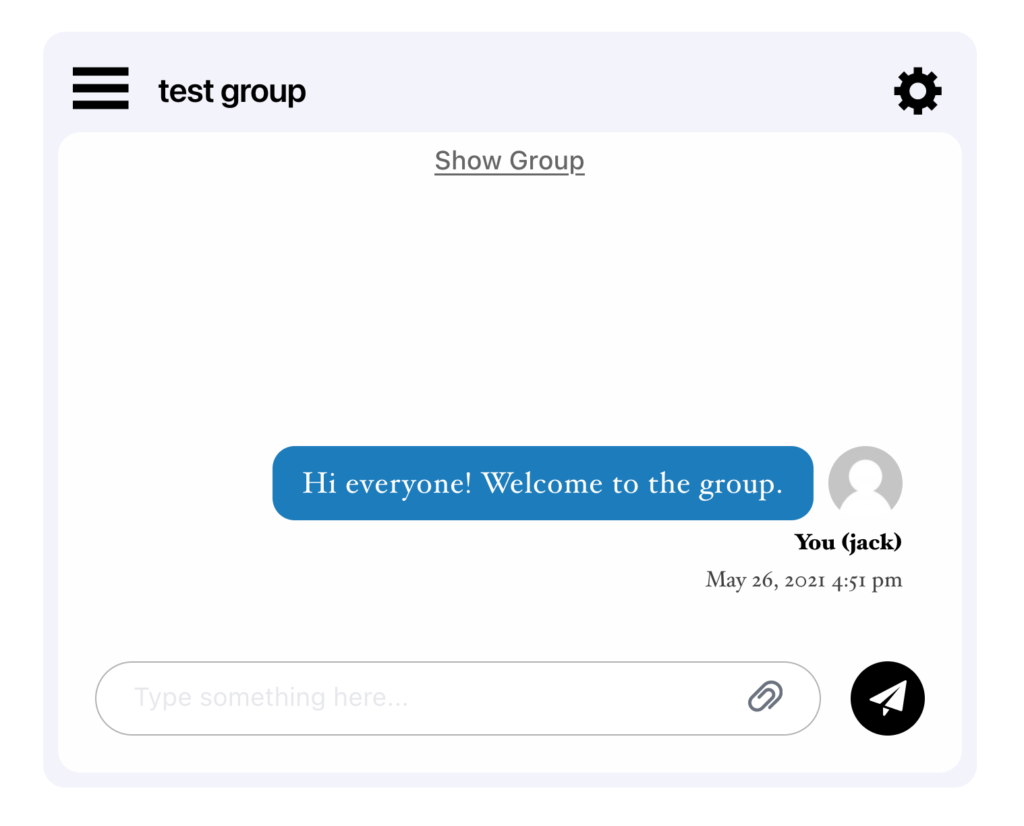
The group isn’t actually created yet though. Click “Create” and you’ll then be taken to the private group.
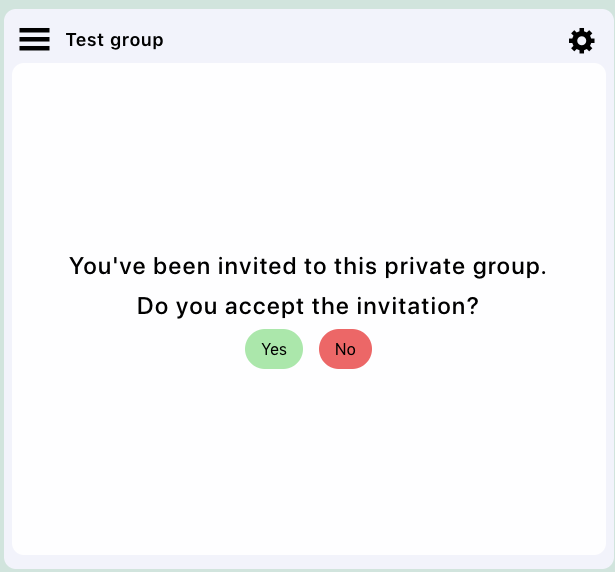
When you create the group, the other members you added will be invited and they can either accept or decline the invitation.
Clicking “Show Group” will display all group members like this:
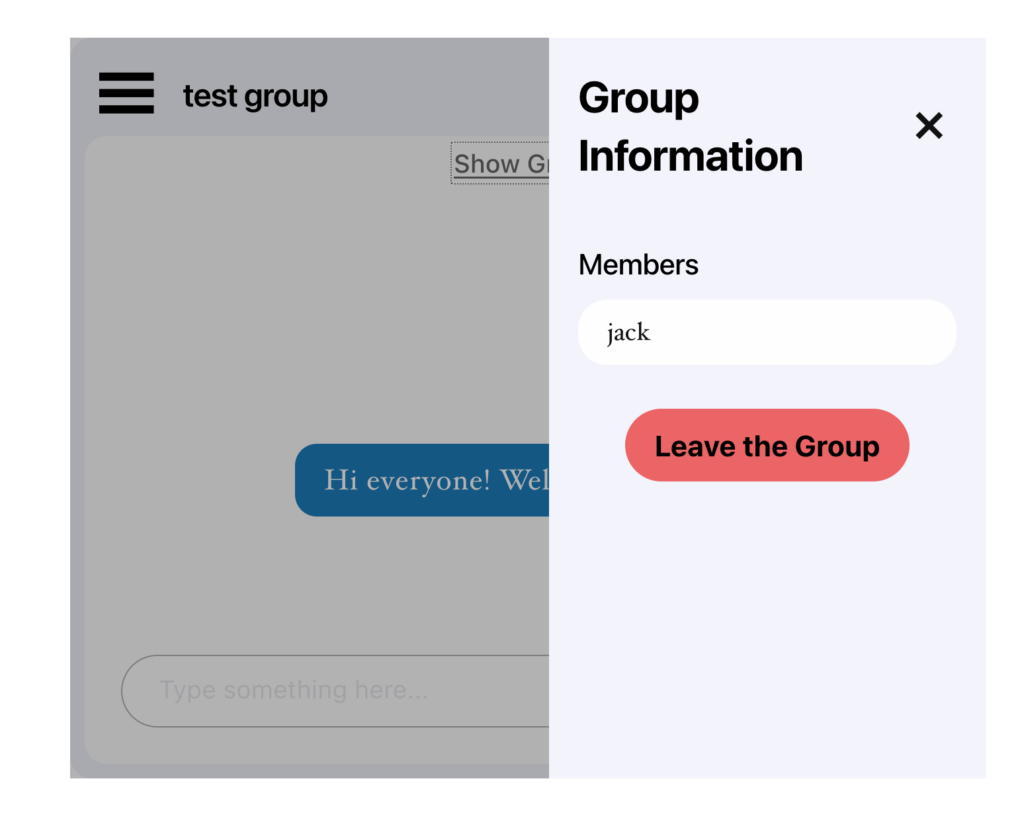
You are also given the option to leave by clicking “Leave the Group“.


