Once you have installed Course Seats for LearnDash, edit or create the course you want to restrict under your wp-admin > LearnDash LMS > Courses.
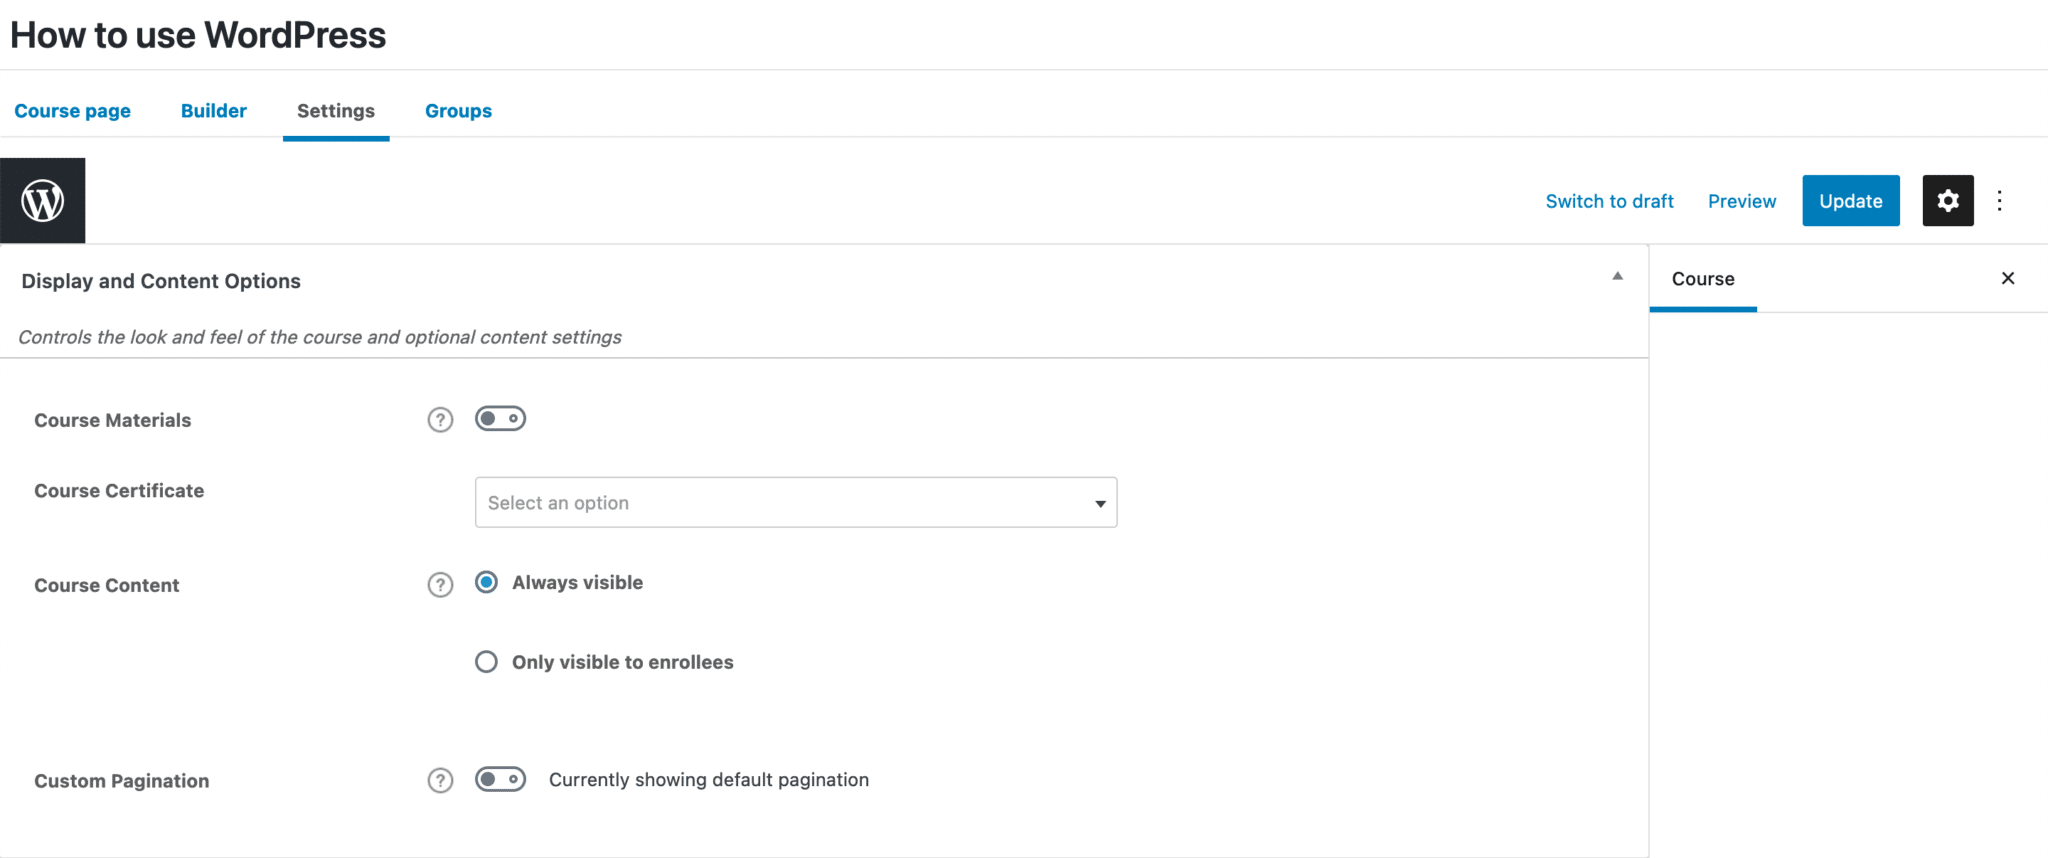
On the individual LearnDash course page click Settings. Which should show you a page like this:

Course Seats for LearnDash Settings #
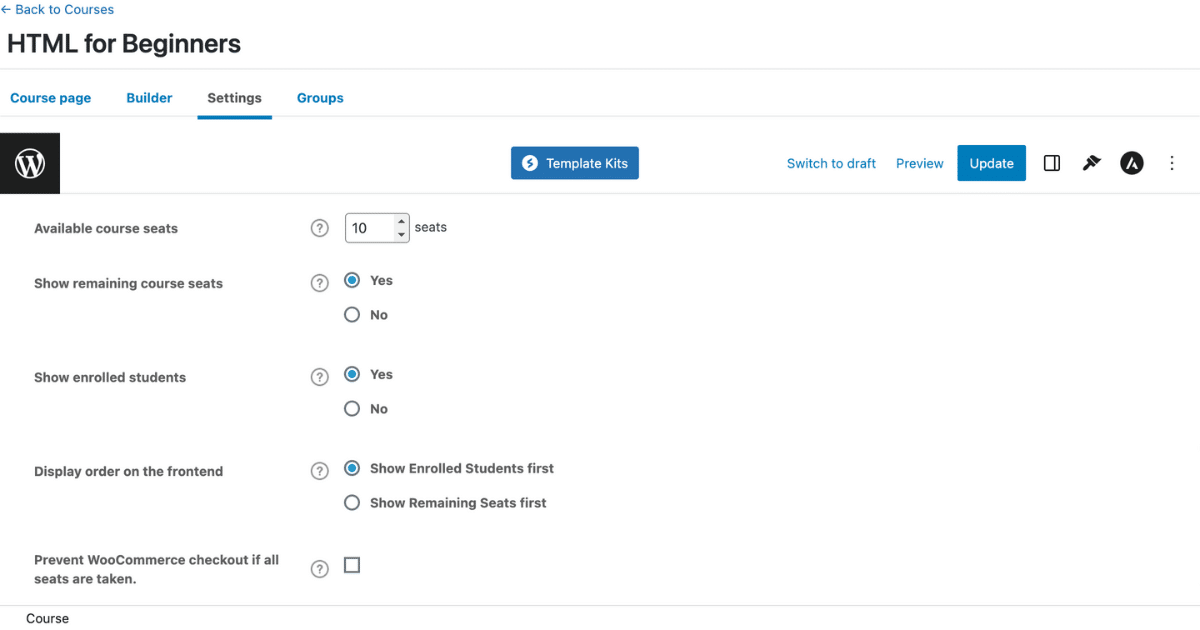
Scroll down and you’ll see the LearnDash course seats option like this:

Available Course Seats
- Enter the number of course seats available for your LearnDash course.
Show Remaining Course Seats
- This setting gives you the option to either show the remaining number of available seats or not.
Show Enrolled Students
- This setting gives you the option to either show the number of enrolled students or not.
Display Order on the Frontend
- If you choose to show the remaining number of available LearnDash course seats and the number of enrolled students in the LearnDash course, this option lets you choose which number to show first.
Prevent WooCommerce Checkout
- Check this box if you are utilizing WooCommerce and want to prevent users from checking out if no LearnDash course seats are available.
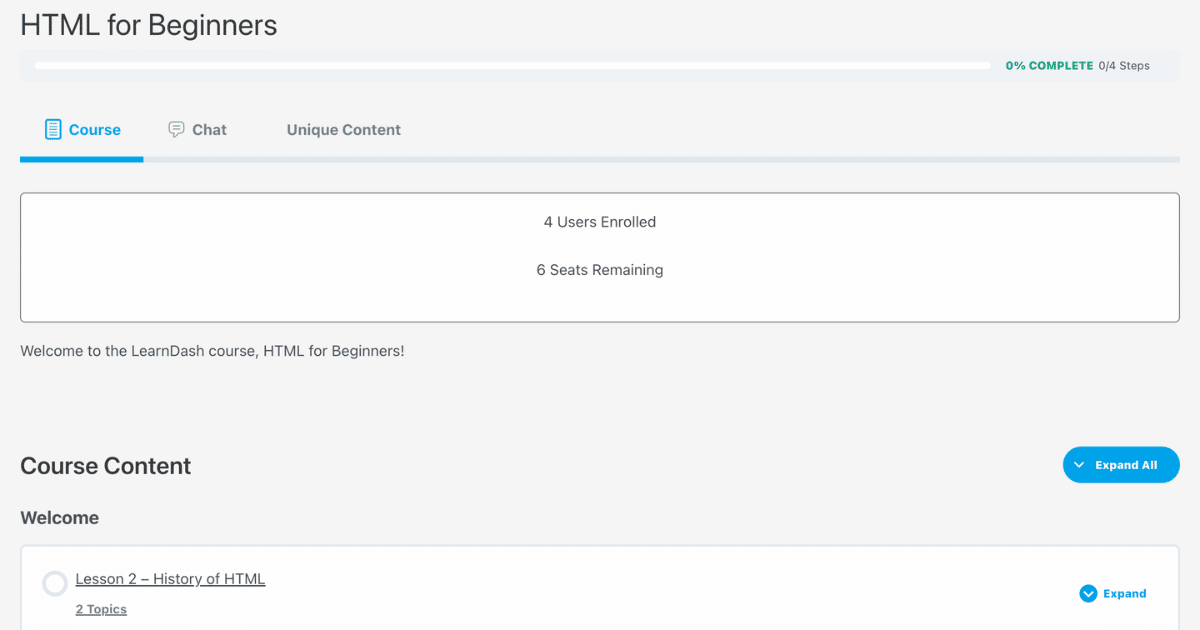
Course Seats from the Frontend of LearnDash Course #
Here’s what the course seats display looks like from the frontend of a LearnDash course:

You can change the styling of the course seats box by using CSS. Feel free to contact our support team if you need any help with that.


