An Introduction to WordPress Filters
A learning management system offers a comprehensive solution for creating and managing online courses on your WordPress website. WordPress filters are versatile tools that allow you to modify and customize various elements of your LMS site to better suit your needs.
By understanding and utilizing WordPress filters, you can enhance your online learning platform’s functionality and user experience, making it more engaging and tailored to your audience’s specific requirements.
In this article, we will delve into the world of WordPress filters, discussing their role in LMS sites and exploring how they can be employed to elevate your educational offerings.
What WordPress Filters Are
Filters in WordPress are functions that allow you to change or extend the functionality of your website by intercepting and altering data at specific points. They enable you to modify the behavior of your LMS site without editing core files.
WordPress filters are added using the function add_filter() and are typically used by to add extra functionality to WordPress sites. Filter hooks are used to change something as opposed to action hooks which allow you to do something.
Why are WordPress Filters Important?
Flexibility and Customization
Filters provide a non-intrusive way to customize your WordPress site. For LMS sites, this means course creators and developers can tailor the learning experience to meet specific needs for your courses and content.
Improved LMS Site Performance
WordPress filters play a crucial role in optimizing your site’s performance. By selectively modifying or excluding certain content through filters, you can reduce the data being processed and transmitted to users.
User Experience Enhancement
Using filters, you can modify elements of your site including content display, control user access, and personalize elements, creating a more engaging and user-friendly learning environment.
Applying WordPress Filters to Your LMS Site
Step 1: Locate the Filter You Need
First, identify the filter you want to use to customize your LMS site. To do this, consult the documentation of your LMS plugin to find a list of available filters and their functions.
Step 2: Add Code to Your Theme’s Functions.php File Or Use Plugin
Next, you’ll need to add the code to your currently active theme’s functions.php file. It is recommended to add the code to your child theme’s file to prevent it from disappearing post-updates. It is highly recommended to make a backup of your site before modifying the functions.php file.
If you are a beginner at applying filters, it is recommended to utilize a WordPress plugin that allows adding custom code from your WordPress admin dashboard. A few popular plugins for adding code without modifying files include Code Snippets, WPCode, and Post Snippets.
How to Apply a WordPress Filter to an LMS Plugin
Let’s look at how to apply a filter to our Certificate Archive for LearnDash plugin to show the course title in the LearnDash certificate.
As we can see from the current functionality of the plugin, when using the plugin’s shortcode to display earned LearnDash certificates, the output shows the name of the certificate and the date it was earned.
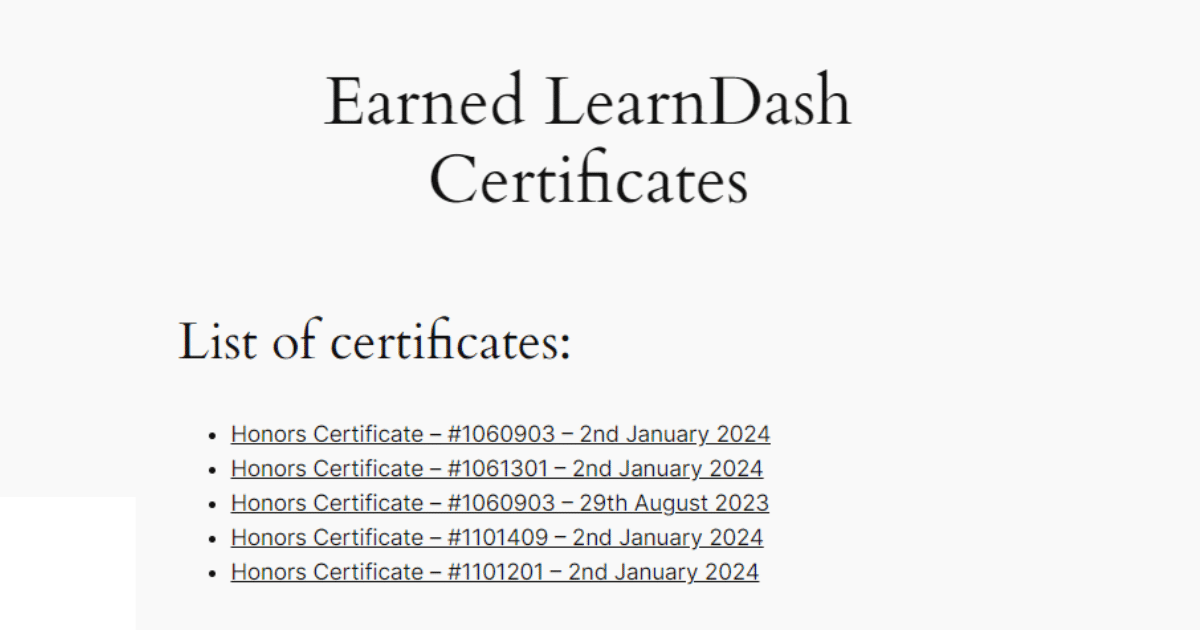
While this is a convenient way to display LearnDash certificates earned by a student, let’s say we want to change the output slightly to display the LearnDash course title, as opposed to the the certificate title.
Locate Filter
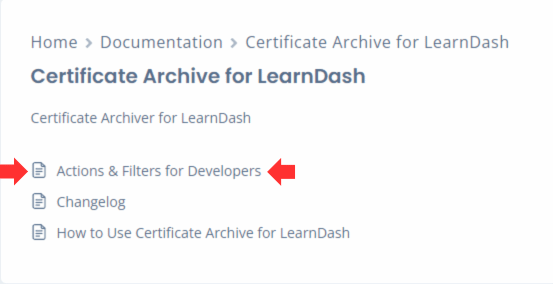
First, we’ll navigate the Actions & Filters for Developers section in the plugin’s documentation.
Next, we’ll scroll down to Filter to Show Course Title.
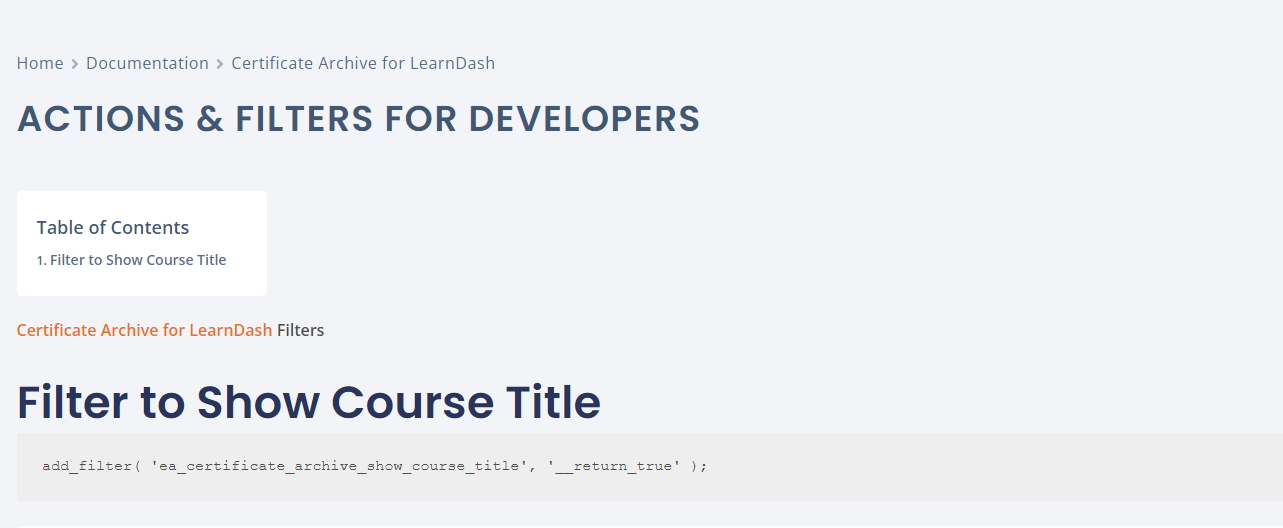
The filter shows:
add_filter( 'ea_certificate_archive_show_course_title', '__return_true' );Use a WordPress Plugin to Add Code Snippet
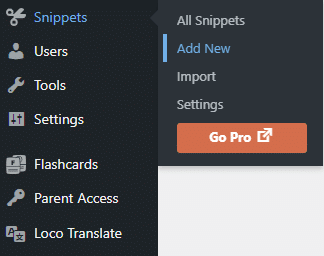
Let’s first add the filter using the Code Snippets plugin.
Navigate to Snippets > Add New.
Next, give the snippet a name and add the filter code snippet to the space provided.
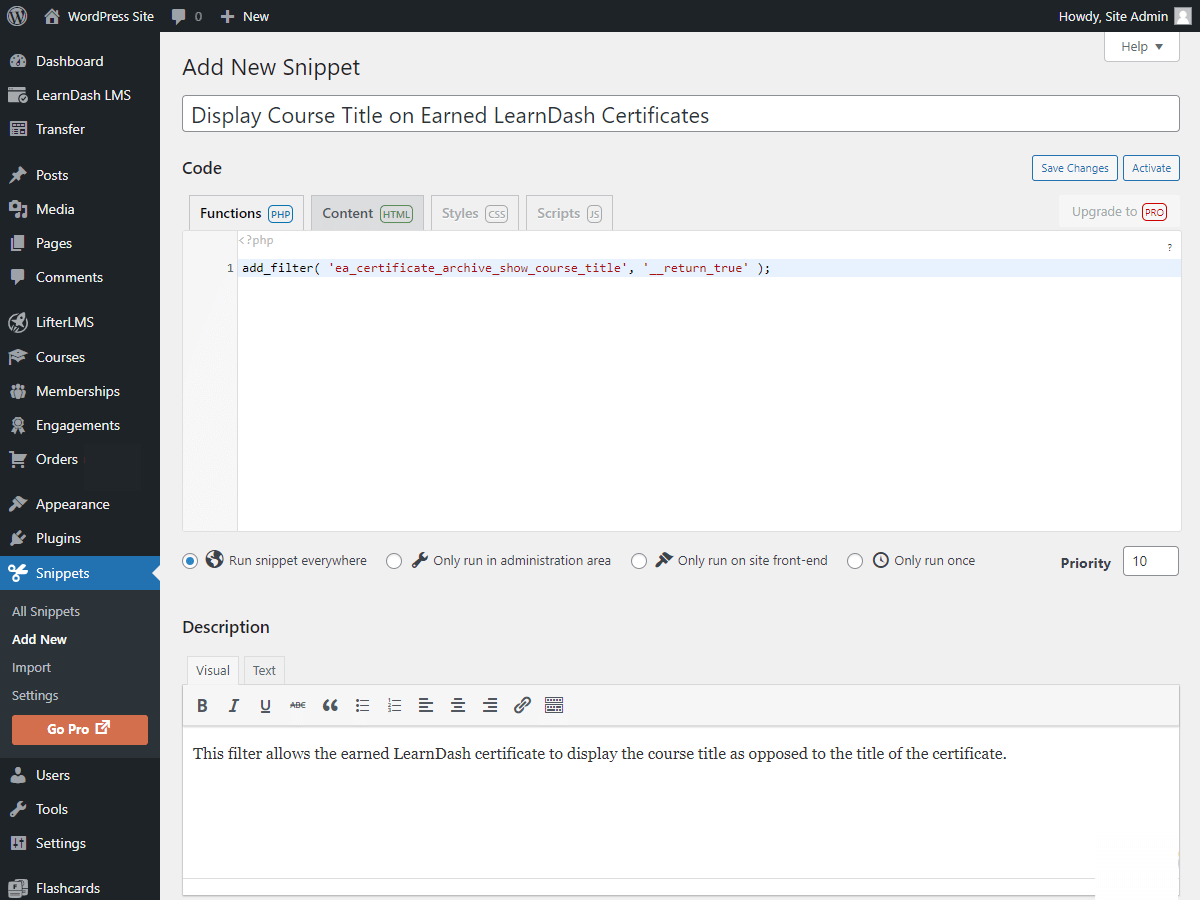
Click Save Changes and Activate.
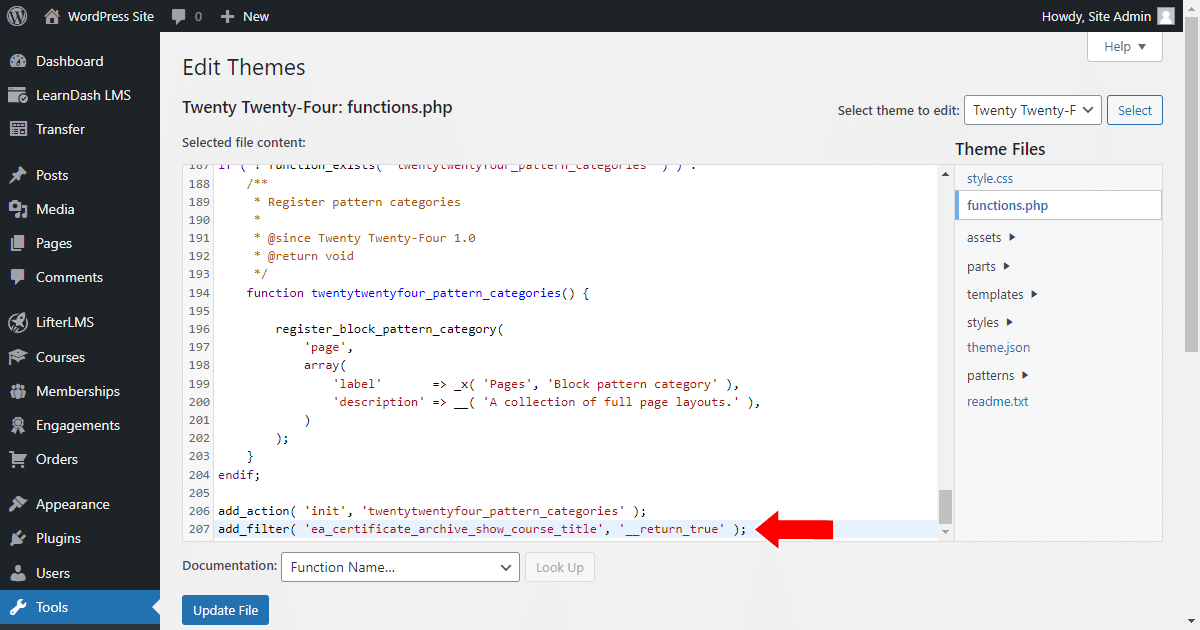
Add Filter to Theme’s Functions.php File
It is recommended to use a child theme and edit the functions.php of your child theme instead of the parent theme.
First, navigate to Tools > Theme File Editor
Next, navigate to the functions.php file.
Then, add the filter code snippet to the bottom of the file.
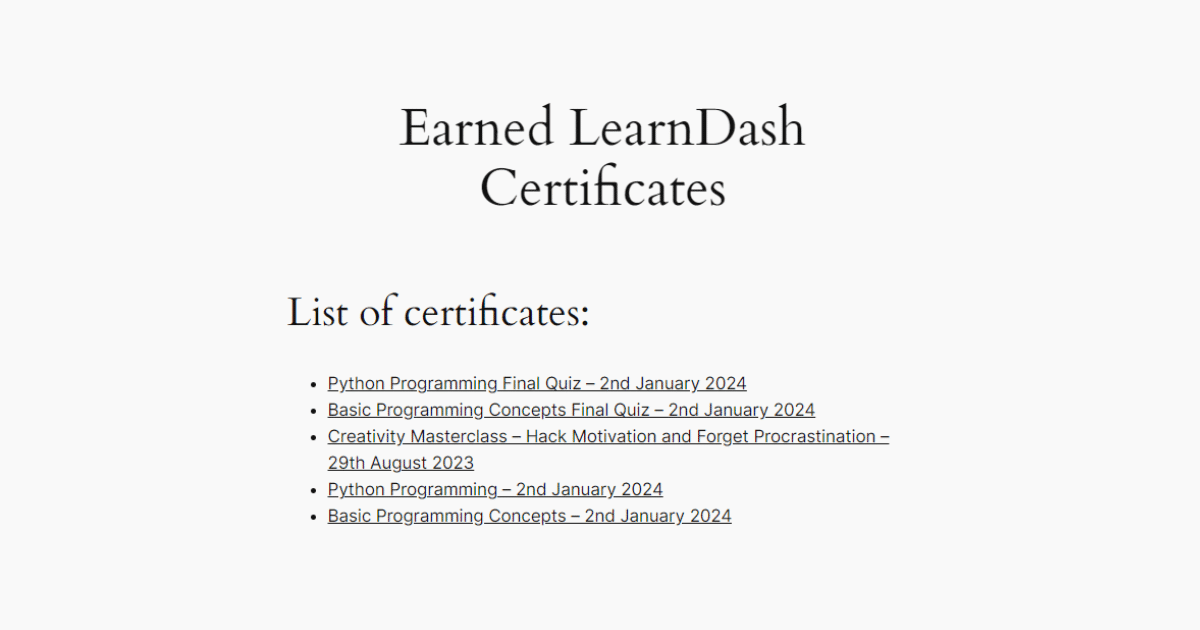
That’s it! You’ve now successfully added a filter to your LMS site!
The earned LearnDash certificates now display the corresponding course or quiz and the date the certificate was earned.
Have Questions?
Have more questions about adding filters to your WordPress site? Feel free to contact us with any questions you may have or join our Facebook group.


Some links on this page may be tied to affiliate programs. We recommend any products we use regardless of commission. Learn More about our policy.