*Note*
Please refer to our Transfer documentation, including the Upload and Import Overview documentation articles, as our Import & Export Tool is now called Transfer.
Prerequisites #
Be sure to add your new site to your Honors WP Dashboard. To do this, go to your Purchase History > View Licenses > Manage Sites, then add your new site.
There are two methods you can utilize to import your LearnDash courses and associated content. You can upload the zipped export file you previously downloaded, or upload via the directory, /wp-content/uploads/honorswp/import directory.
When you import your LearnDash content via JSON you must be uploading a zip file. If in the previous step, the zip didn’t generate and instead you downloaded a folder, you’ll need to zip that before uploading.
Navigate to your WordPress admin > Transfer to begin importing your LearnDash content.
Uploading the Exported Zip File #
Before importing, check again that you have the latest version of the Transfer installed on your import site, and be sure you’ve made a backup of your site & allow file writing permissions.
You will also want to be sure your server settings are set to a minimum of:
- post_max_size 256MB
- upload_max_filesize 256MB
- Memory limit 512MB
Select the zip folder you just exported.
Before selecting Import, please read the following instructions carefully.
The importer uses something called an action scheduler where the tasks are processed in the background. While slower to process than other options, this ensures the content doesn’t time out when importing.
Because of this, you may think the importer is stuck. Don’t worry, it isn’t. If there is an error or the importer is stuck you’ll see a specific error message and then can reach out to our support team for assistance.
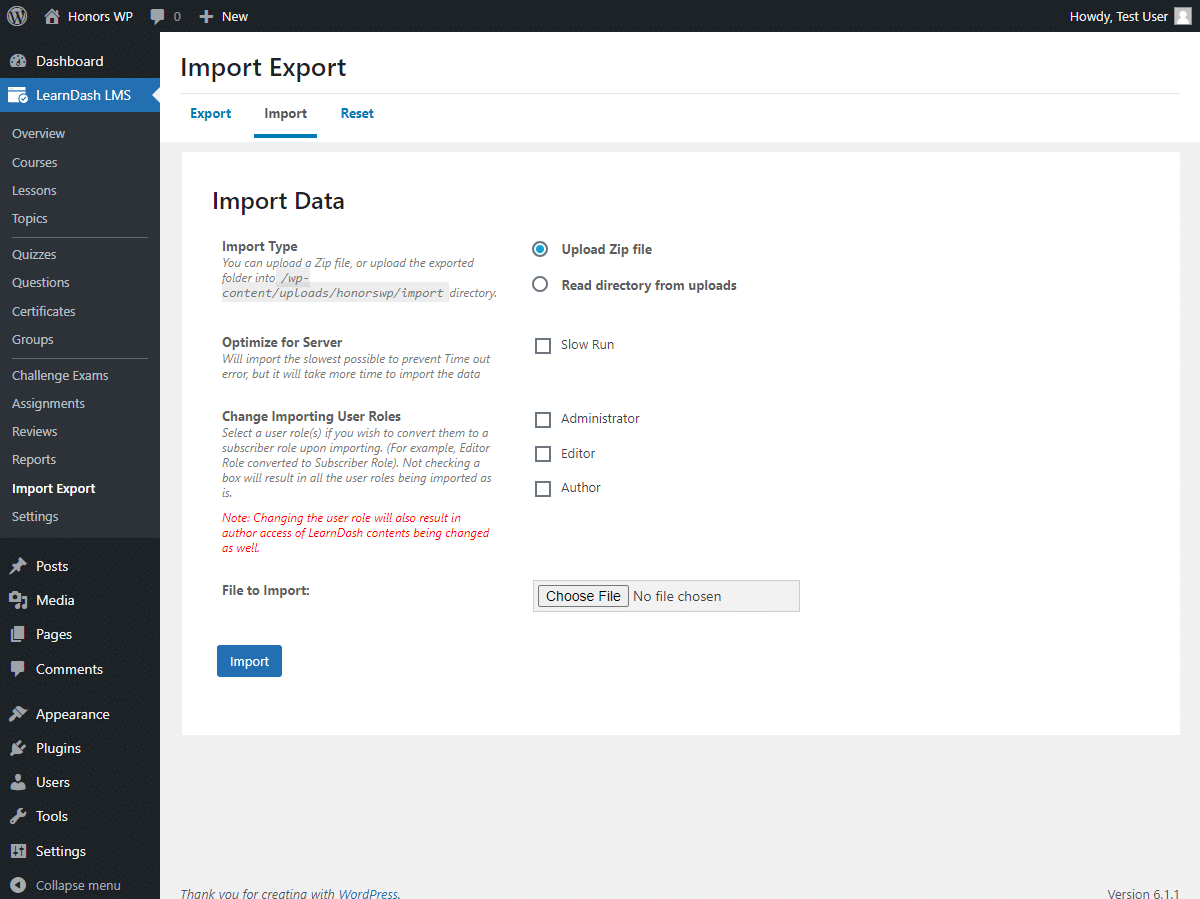
Optimize for Server #
Our import process allows you to adjust the import process to prevent time-out errors.

When selecting the Slow Run option, you must choose how slow you would like to process to run. The lower the batch, the slower the import process. Our recommendation for this setting is 10.
Change Importing User Roles #
Before importing, you are also given the option to change an importing user role to a subscriber.
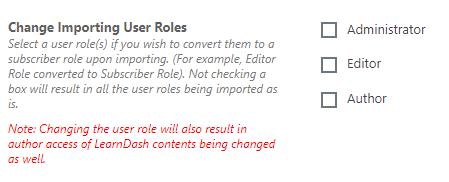
Be advised that not checking any boxes will result in all user roles being imported as is and changing the user role will also result in author access to LearnDash-related contents will be changed as well.
Importing your Export File #
So how long will it take to import? This depends on the amount of content you are importing and your server specifications. In general, a single course could take a few minutes and all your courses, lessons, topics, quizzes, etc could take hours depending on the number of them.
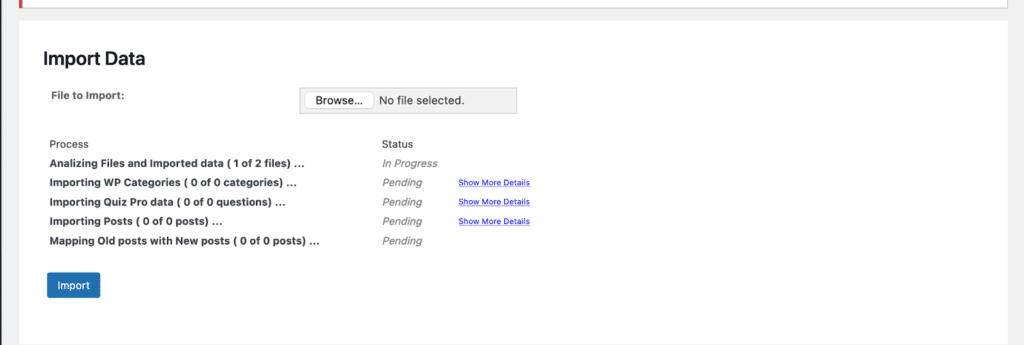
When you start the import, your screen will look like this:
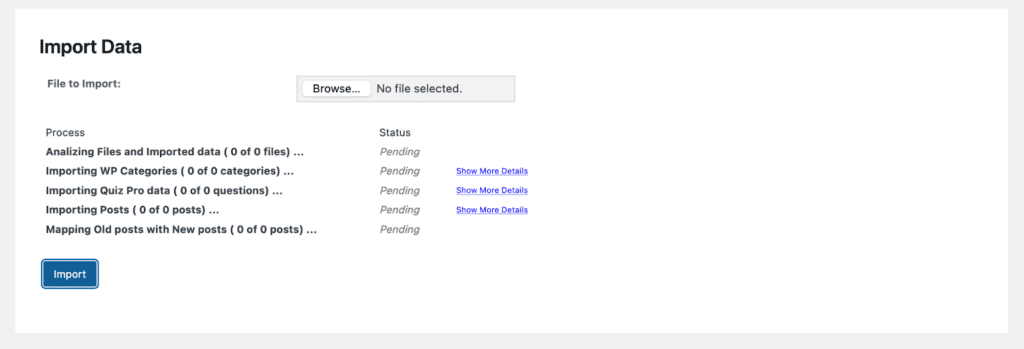
Notice how it says 0 of 0 files? This is because the import is pending and analyzing the zip you’ve uploaded.
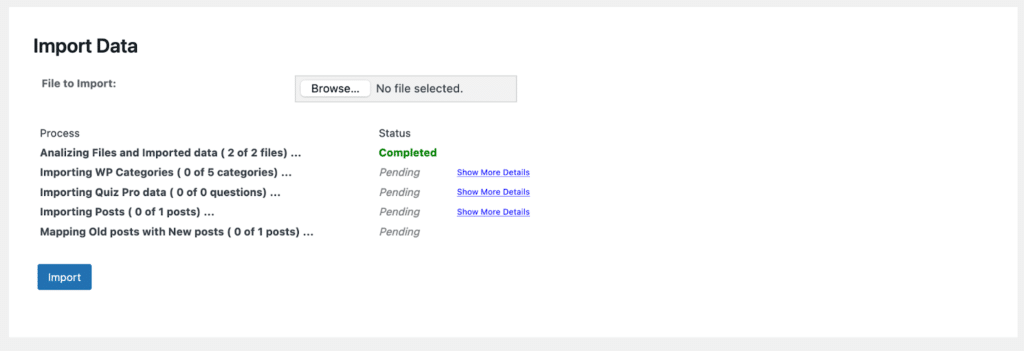
Once the zip has been analyzed it’ll show the actual number of files:
The next step in the process is for the importer to actually import your content into the site which will update the status to completed:
As you can see from the above screenshot, the status of the file is now completed.
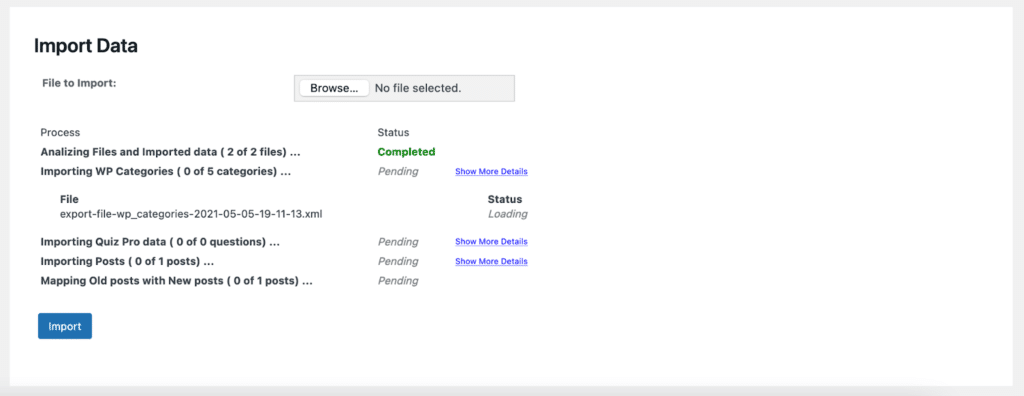
In some instances, depending on the chunk size for some of the items, you’ll have multiple files. If you click on “Show More Details”, you’ll be able to see all those files like this:
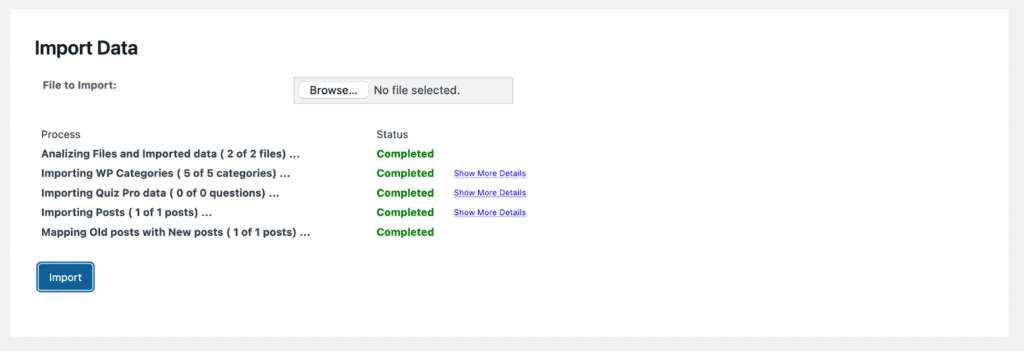
The final stage in the import process is mapping the content. This is one of the slower processes of the import so don’t worry if it appears “hung”, as it’ll be going through making sure the content is associated correctly.
Once everything is complete you should all green “Completed” next to each step and be able to check out your newly imported content!
When using Elementor and your import site URL did not change:
Follow the steps outlined in this Elementor article:
- Go to Elementor > Tools > Replace URL Tab
- Enter your old-url and your new-url and click Replace URL
- Under the General Tab > Regenerate CSS, click Regenerate Files
- In Settings > General on your WordPress Dashboard, make sure that the URLs are similar.
Import & Export Tool for LearnDash via JSON #
Import the Export Folder via Directory #
If you have a large export file (>400MB), it is recommended you upload your export file to your import site’s directory.
To import the exported folder via the “Read directory from uploads” method, you must use an FTP server such as FileZilla.
First, you must unzip the exported folder before adding it to the uploads folder in your FTP client.
Next, take the unzipped export folder, and in your FTP server, navigate to the import folder.
To get to the import folder, navigate through the folders as follows: web > [name of your site] > public_html > wp-content > uploads > honorswp > import.
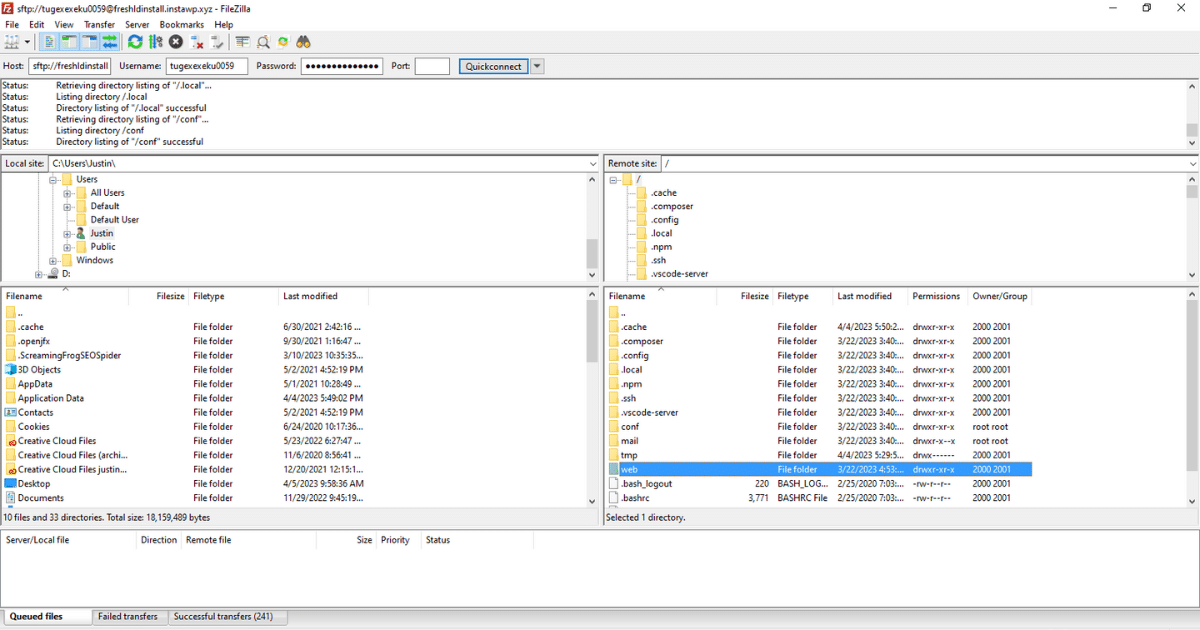
Once you reach the folder that reads “import”, add the unzipped export folder to the import folder.
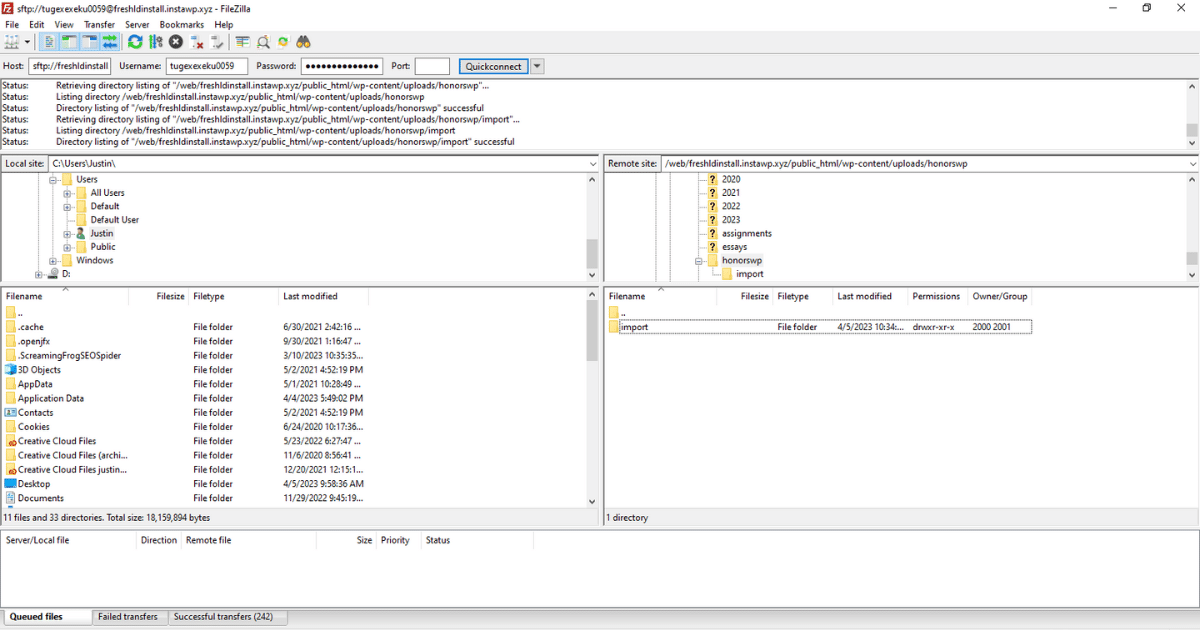
After you have added the unzipped export folder to the import folder in your FTP client, return to the Import/Export menu on your LearnDash site and navigate to the Import tab.
Select “Read directory from uploads” from the Import Type.
Under Select Folder to Import, the export folder should be located here. If the folder does not appear, then refresh the page, as the folder may still need to be retrieved.
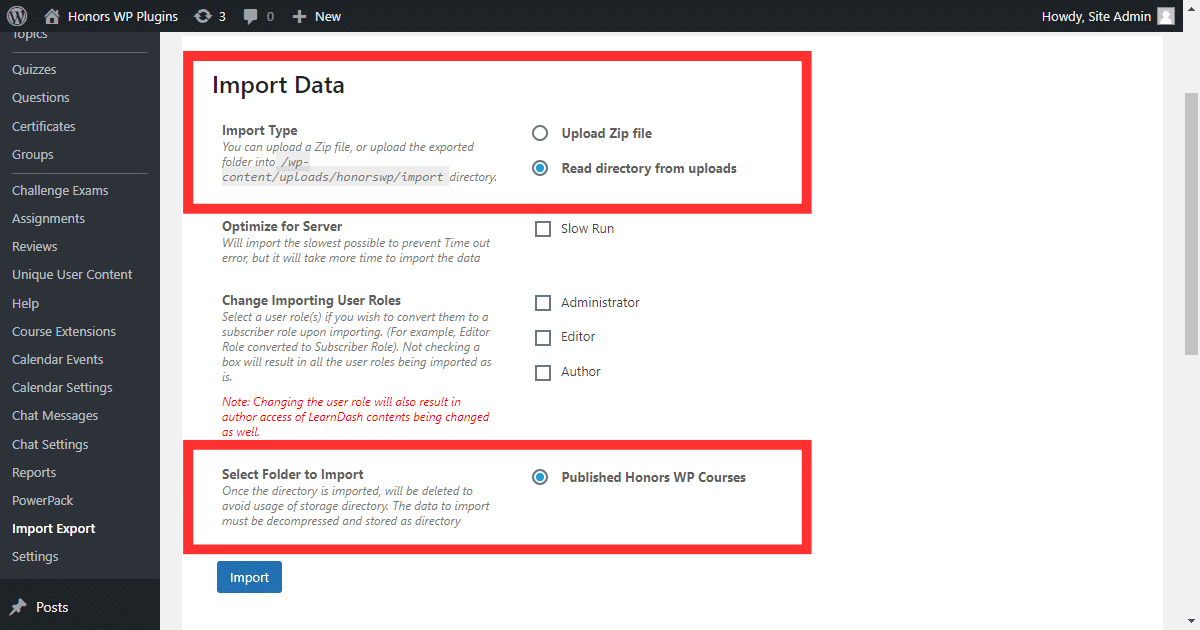
The import process should begin the same as if you were importing the export file using the zip method.
Upload Export File to Import Site Directory Walkthrough #
Importing Media #
When importing media, please note that only media associated with LearnDash will be migrated. This includes images and videos used in LearnDash content, featured images, etc.
To migrate media located in your media library that is not connected to related LearnDash content, you can take the wp-content folder from your export site and add it to the import site. Then, you will want to utilize a search & replace plugin and update the source URLs of the media to your import site.
Reset LearnDash Data #
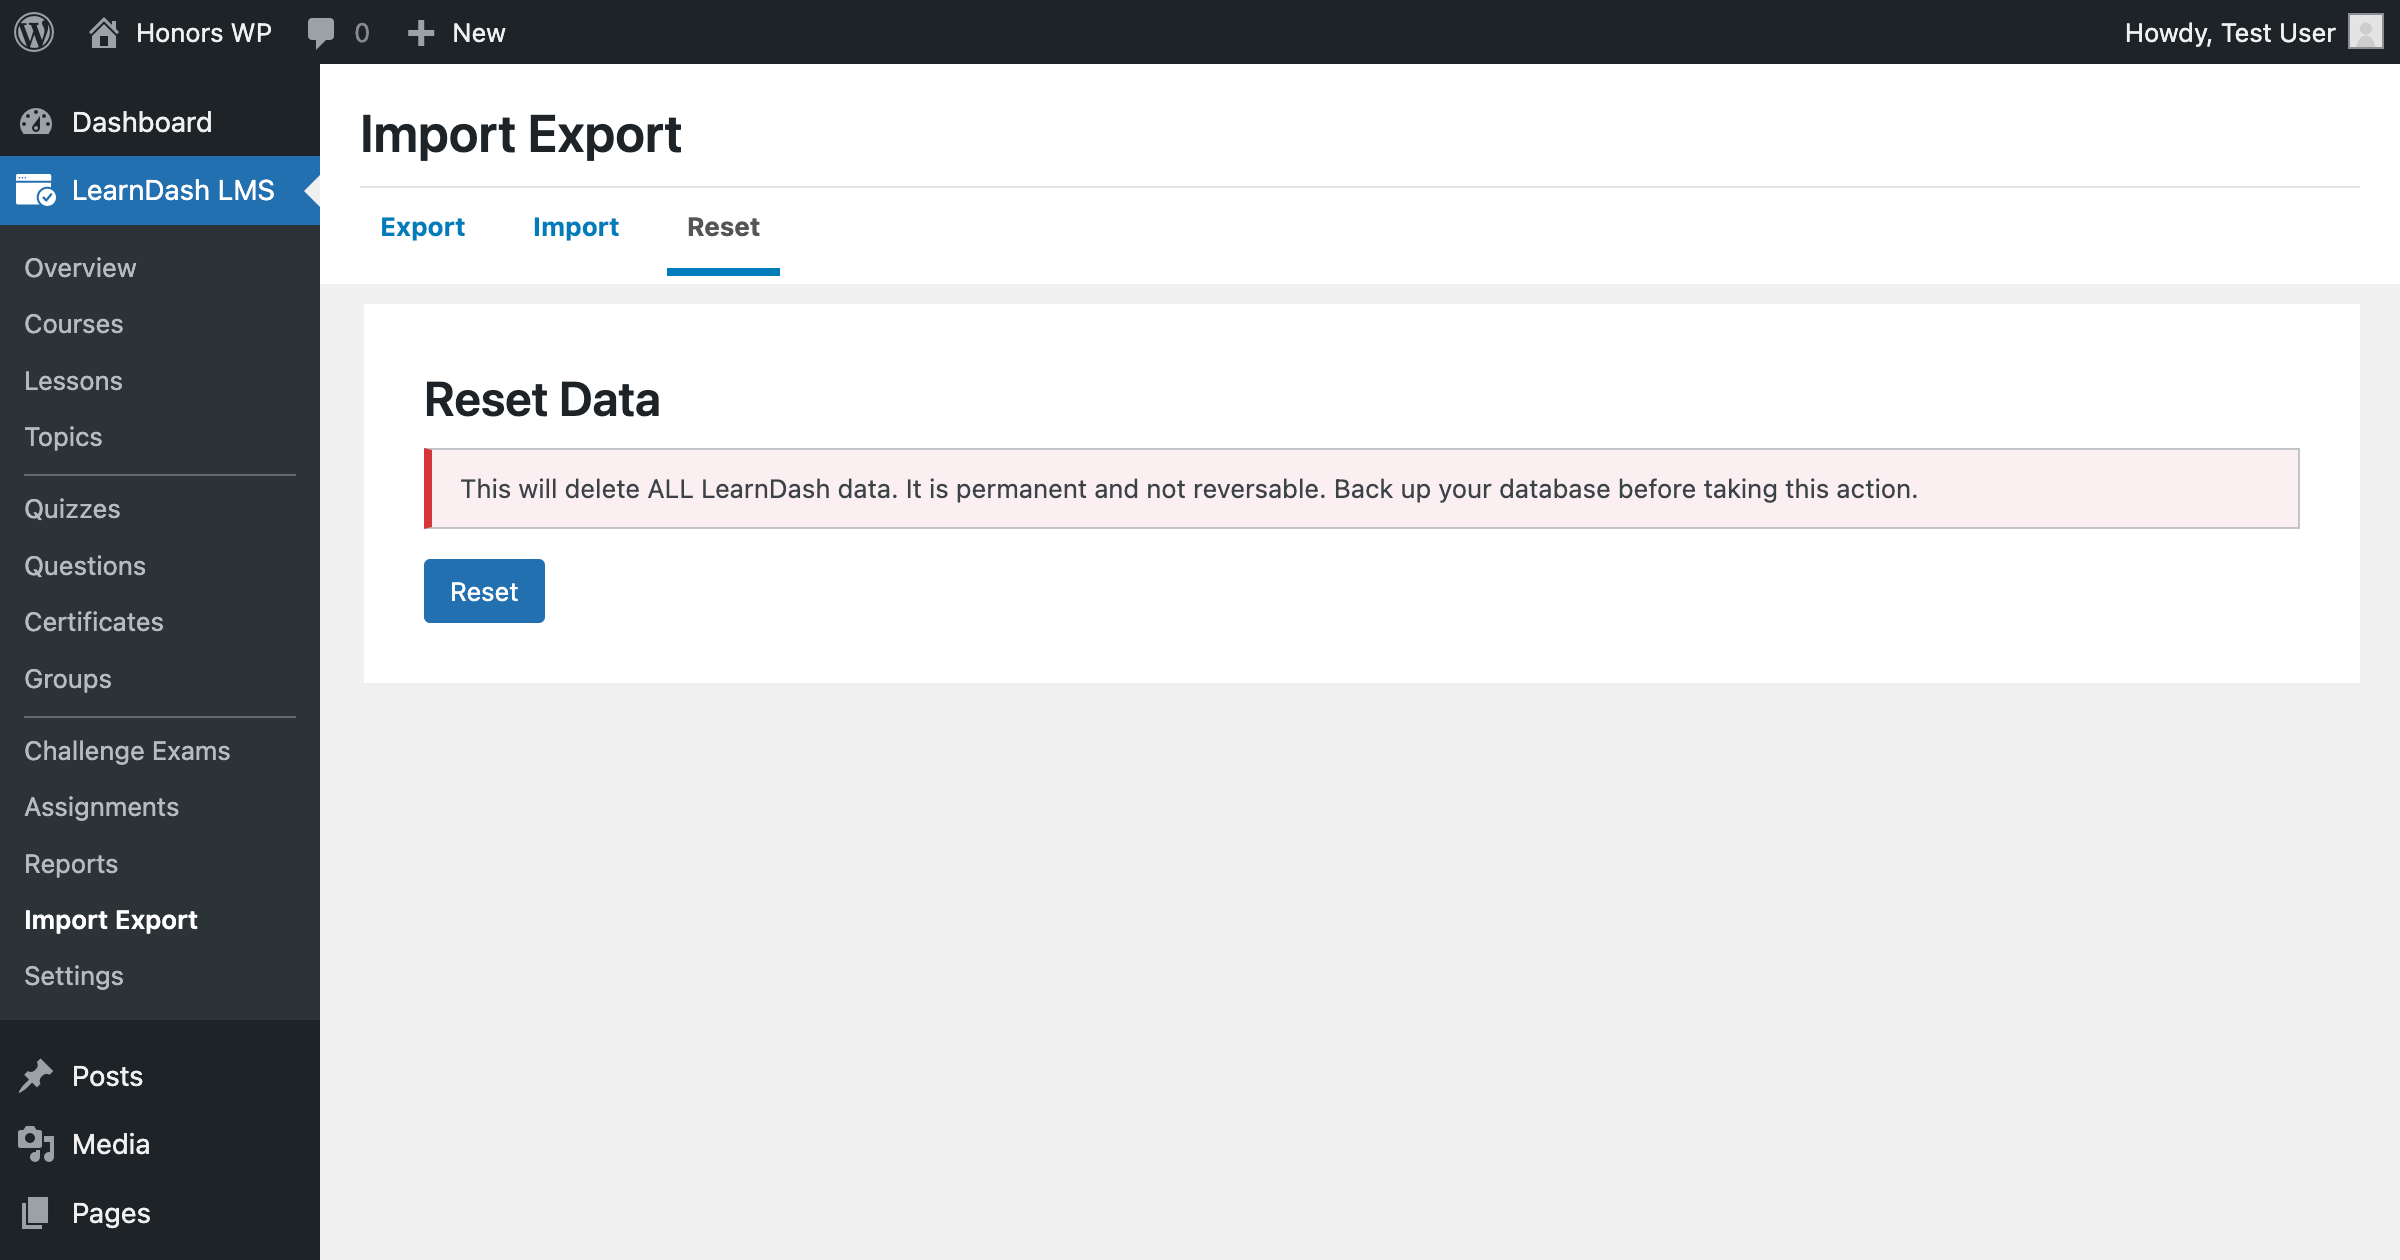
Please be aware of the reset tab. Selecting “Reset” will wipe all LearnDash data and is not reversible. Always be sure to back up your LearnDash site before exporting/importing.
